
Remote Access With Guacamole
Apache Guacamole is a fantastic software for those looking for an easy way to manage connections to a cluster of computers or those looking for a VDI that can run on a Chromebook. I use Apache Guacamole to manage access to my small cluster of Linux computers. In this guide, we'll explore setting up an Apache Guacamole server with Docker Compose, connecting computers, and adding an extension to Guacamole for improved logging with session recording.
Installing Docker Compose
Let's start by updating our system. To do this, run the following command:
sudo apt update && sudo apt upgrade -yNow, let's remove old Docker packages:
for pkg in docker.io docker-doc docker-compose docker-compose-v2 podman-docker containerd runc; do sudo apt-get remove $pkg -y; doneThen, we can add Docker's apt repository to our sources:
sudo apt-get update
sudo apt-get install ca-certificates curl -y
sudo install -m 0755 -d /etc/apt/keyrings
sudo curl -fsSL https://download.docker.com/linux/ubuntu/gpg -o /etc/apt/keyrings/docker.asc
sudo chmod a+r /etc/apt/keyrings/docker.asc
echo \
  "deb [arch=$(dpkg --print-architecture) signed-by=/etc/apt/keyrings/docker.asc] https://download.docker.com/linux/ubuntu \
  $(. /etc/os-release && echo "$VERSION_CODENAME") stable" | \
  sudo tee /etc/apt/sources.list.d/docker.list > /dev/null
sudo apt-get update
Finally, let's install Docker's packages:
sudo apt-get install docker-ce docker-ce-cli containerd.io docker-buildx-plugin docker-compose-plugin -yOnce apt has installed Docker, we'll need to start the Docker Engine. To do this, run the following command:
sudo systemctl start dockerPulling Guacamole's Containers
With Docker now set up, we can pull Guacamole's containers from Docker Hub. This guide is not applicable for computers using ARM chips, as Apache Guacamole only provides AMD64 containers. As of this guide's writing, the latest tag is 1.5.5, and I will be using MariaDB because it is easy to implement.
docker pull guacamole/guacamole:1.5.5
docker pull guacamole/guacd:1.5.5
docker pull mariadb
Initialize Database
For Guacamole to work correctly, we'll need to initialize our database. Luckily, Guacamole provides these commands in the file /opt/guacamole/bin/initdb.sh --mysql > initdb.sql.
docker run --rm guacamole/guacamole:1.5.5 /opt/guacamole/bin/initdb.sh --mysql > initdb.sqlWe'll now begin writing our docker-compose.yml file. We'll start by spinning up our database.
services:
  guacdb:
    container_name: guacamole_db
    image: mariadb
    restart: unless-stopped
    environment:
      MYSQL_ROOT_PASSWORD: '<Please Pick A Good Password>'
      MYSQL_DATABASE: 'guacamole_db'
      MYSQL_USER: 'guacamole_user'
      MYSQL_PASSWORD: '<Please Pick A Good Password>'
    volumes:
      - './db-data:/var/lib/mysql'
volumes:
  db-data:
Save & start the container:
docker compose up -dNow copy the SQL file from the machine to your container:
docker cp initdb.sql guacamole_db:/initdb.sqlOpen the container's shell:
docker exec -it guacamole_db bashLoad the file into the database:
cat /initdb.sql | mariadb -u root -p guacamole_dbExit the container once you're done with the exit command, and turn it off by running :
docker compose downStarting The Server
Open the previous docker-compose.yaml file and replace its contents with the following:
services:
  guacdb:
    container_name: guacamole_db
    image: mariadb
    restart: unless-stopped
    environment:
      MYSQL_ROOT_PASSWORD: '<Please Pick A Good Password>'
      MYSQL_DATABASE: 'guacamole_db'
      MYSQL_USER: 'guacamole_user'
      MYSQL_PASSWORD: '<Please Pick A Good Password>'
    volumes:
      - './db-data:/var/lib/mysql'
  guacd:
    container_name: guacd
    image: guacamole/guacd:1.5.5
    restart: unless-stopped
    volumes:
      - ./record:/var/lib/guacamole/recordings:rw
  guacamole:
    container_name: guacamole
    image: guacamole/guacamole:1.5.5
    restart: unless-stopped
    ports:
      - 80:8080
    environment:
      GUACD_HOSTNAME: "guacd"
      MYSQL_HOSTNAME: "guacdb"
      MYSQL_DATABASE: "guacamole_db"
      MYSQL_USER: "guacamole_user"
      MYSQL_PASSWORD: "<Please Pick A Good Password>"
      TOTP_ENABLED: "true"
      WEBAPP_CONTEXT: "ROOT"
      GUACAMOLE_HOME: '/opt/guacamole_home'
      RECORDING_SEARCH_PATH: '/var/lib/guacamole/recordings'
    depends_on:
      - guacdb
      - guacd
    volumes:
      - ./guacamole_home:/opt/guacamole_home
      - ./record:/var/lib/guacamole/recordings:ro
volumes:
  db-data:
Save & start the containers:
docker compose up -dAccessing Guacamole
To access your server, open your browser and enter the IP of your Guacamole server. If you don't know your server's IP, enter the following into your terminal:
ip addrOnce you navigate to your server's IP, you'll be greeted with the following screen:
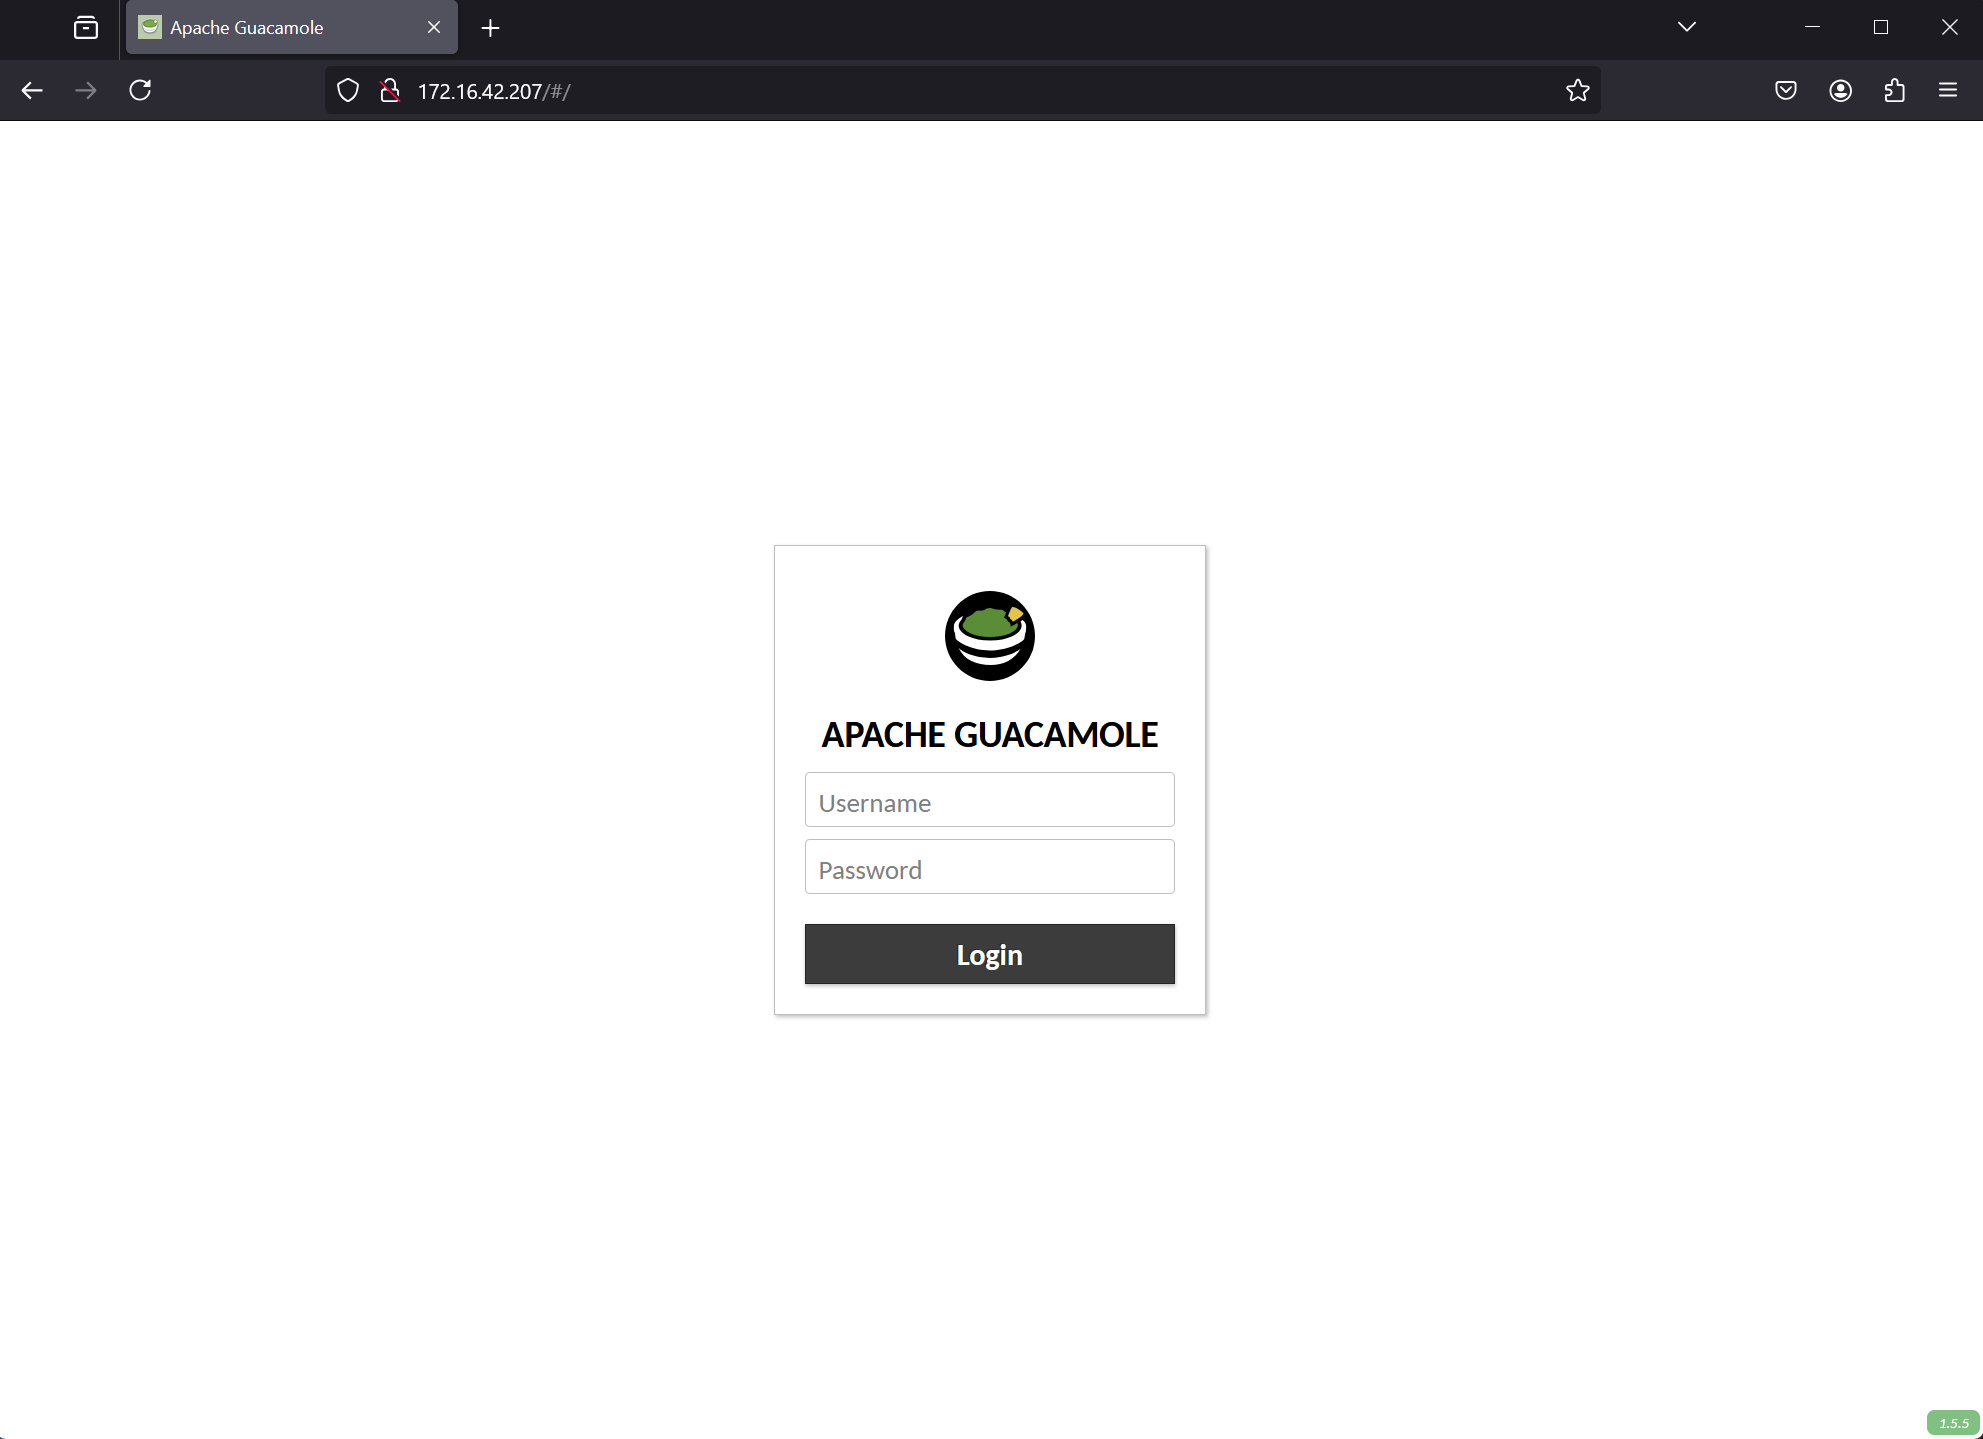
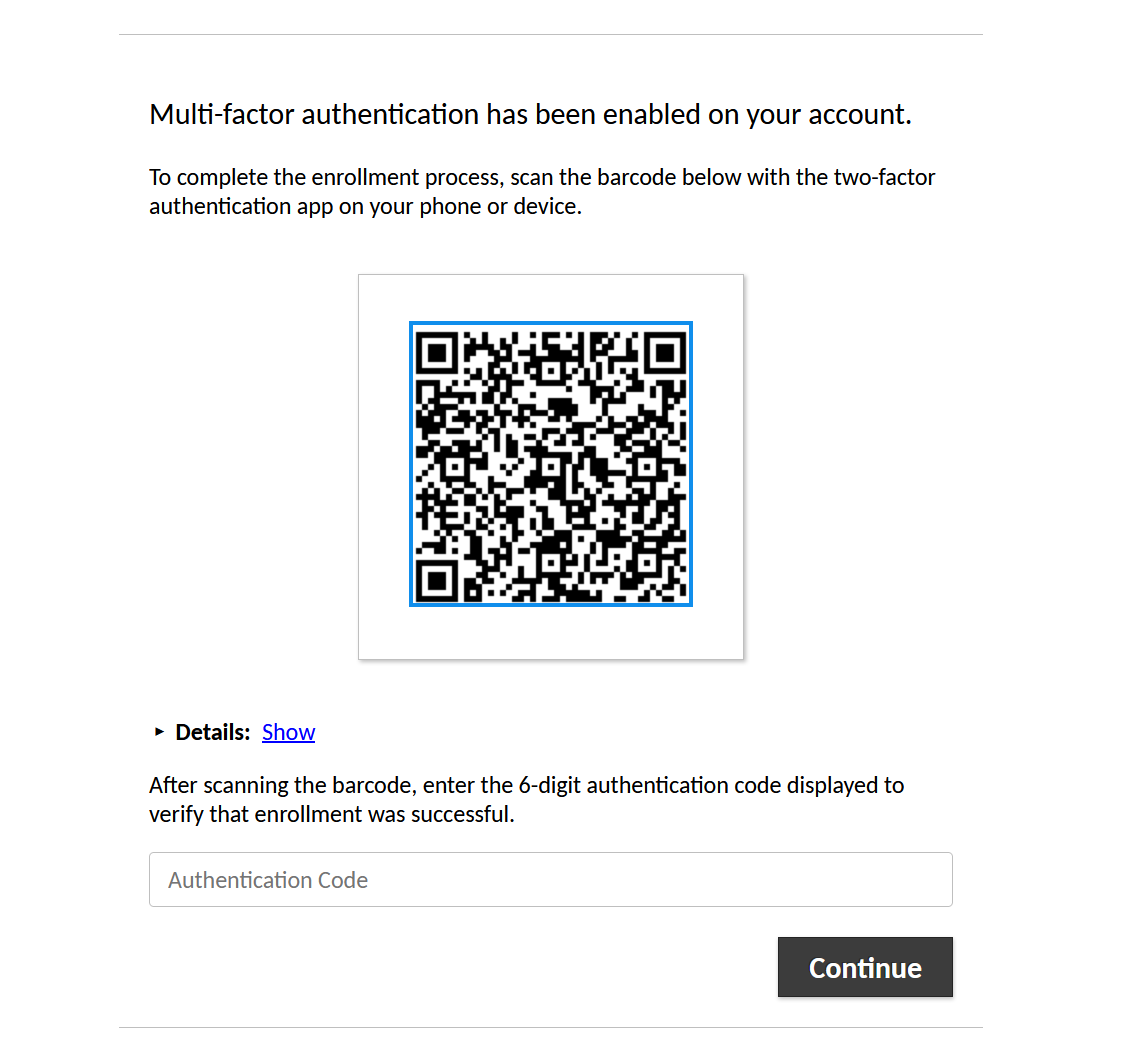
The original username and password is guacadmin and guacadmin respectively. Since we added TOTP_ENABLED: "true", we'll need to scan the QR code displayed with an authenticator app of your choice. To make authentication only username & password, remove the line TOTP_ENABLED: "true".
Create a New Connection
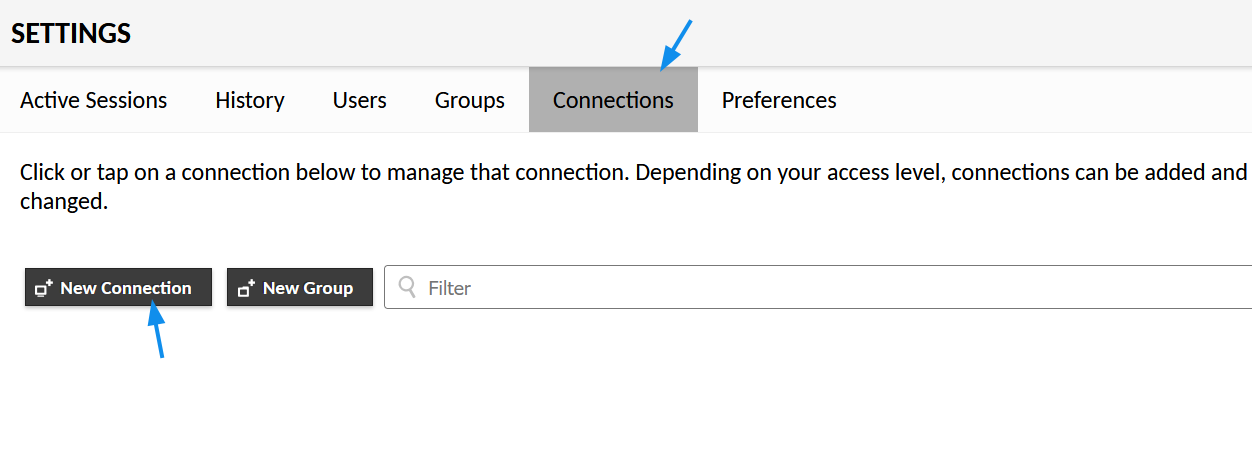
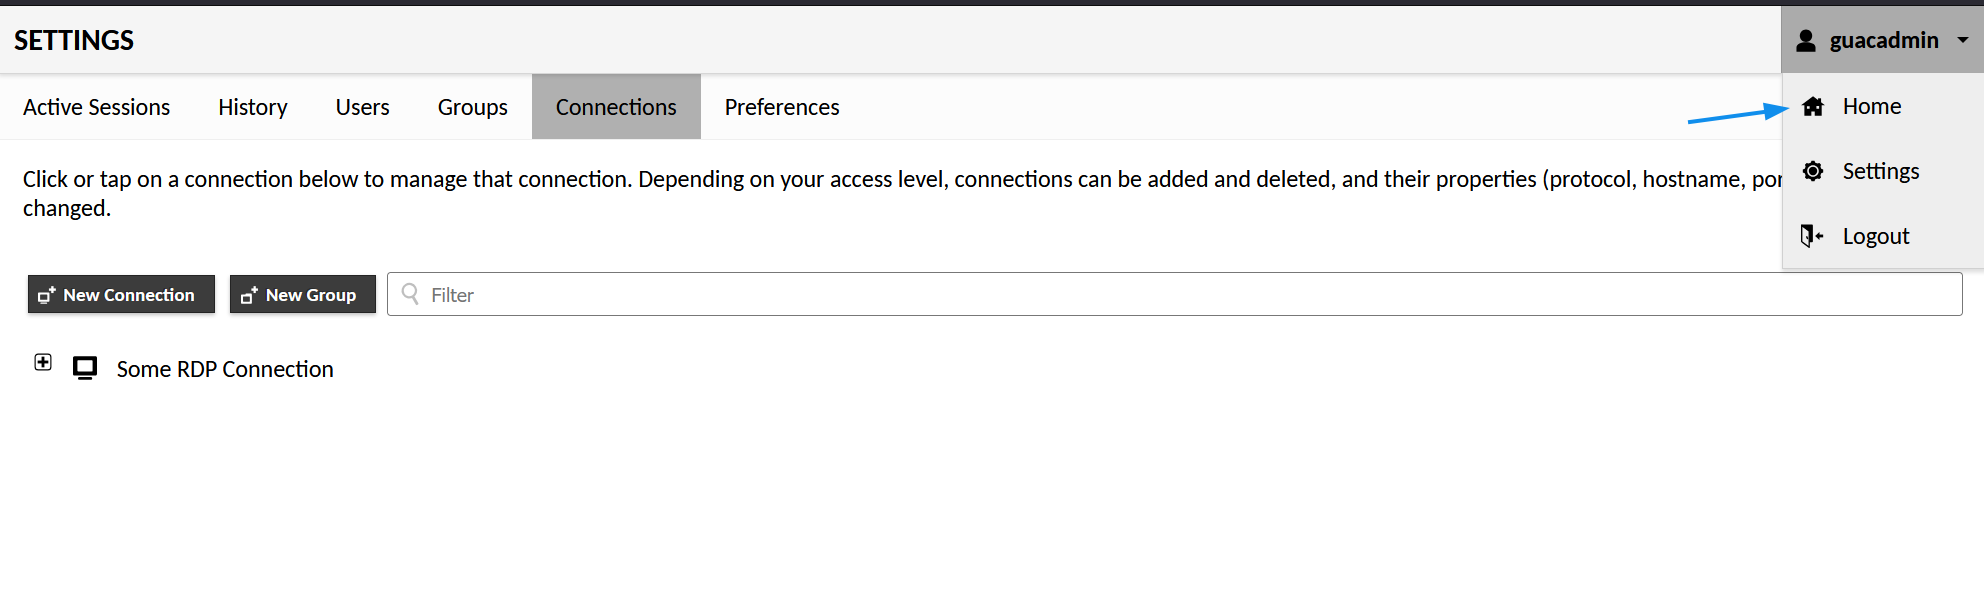
Once inside, navigate to Settings:

Then open the tab Connections and click + New Connection.
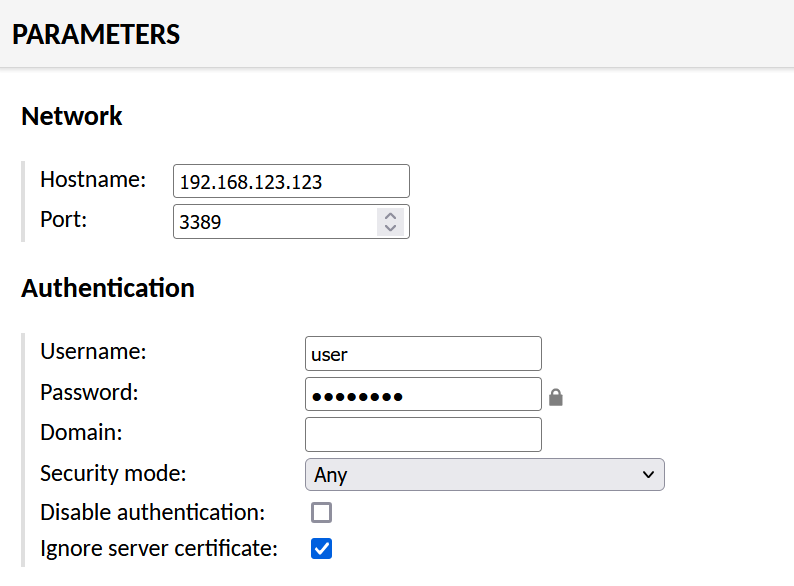
On this page, name your connection and set the protocol to RDP. Side note: to install RDP on Ubuntu run sudo apt install xrdp.

Then edit the network information so Guacamole can connect to your server
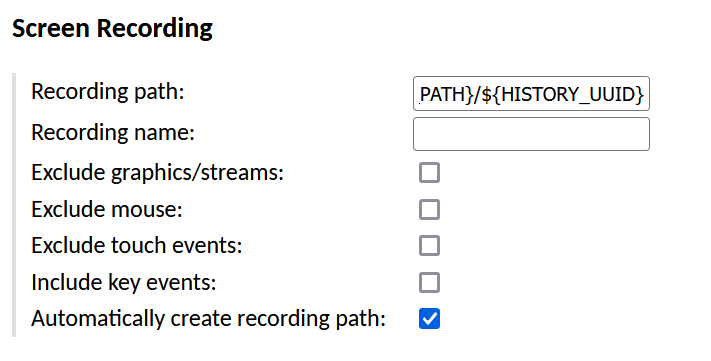
And finally, set the screen recording path to ${HISTORY_PATH}/${HISTORY_UUID} and enable Automatically create recording path:
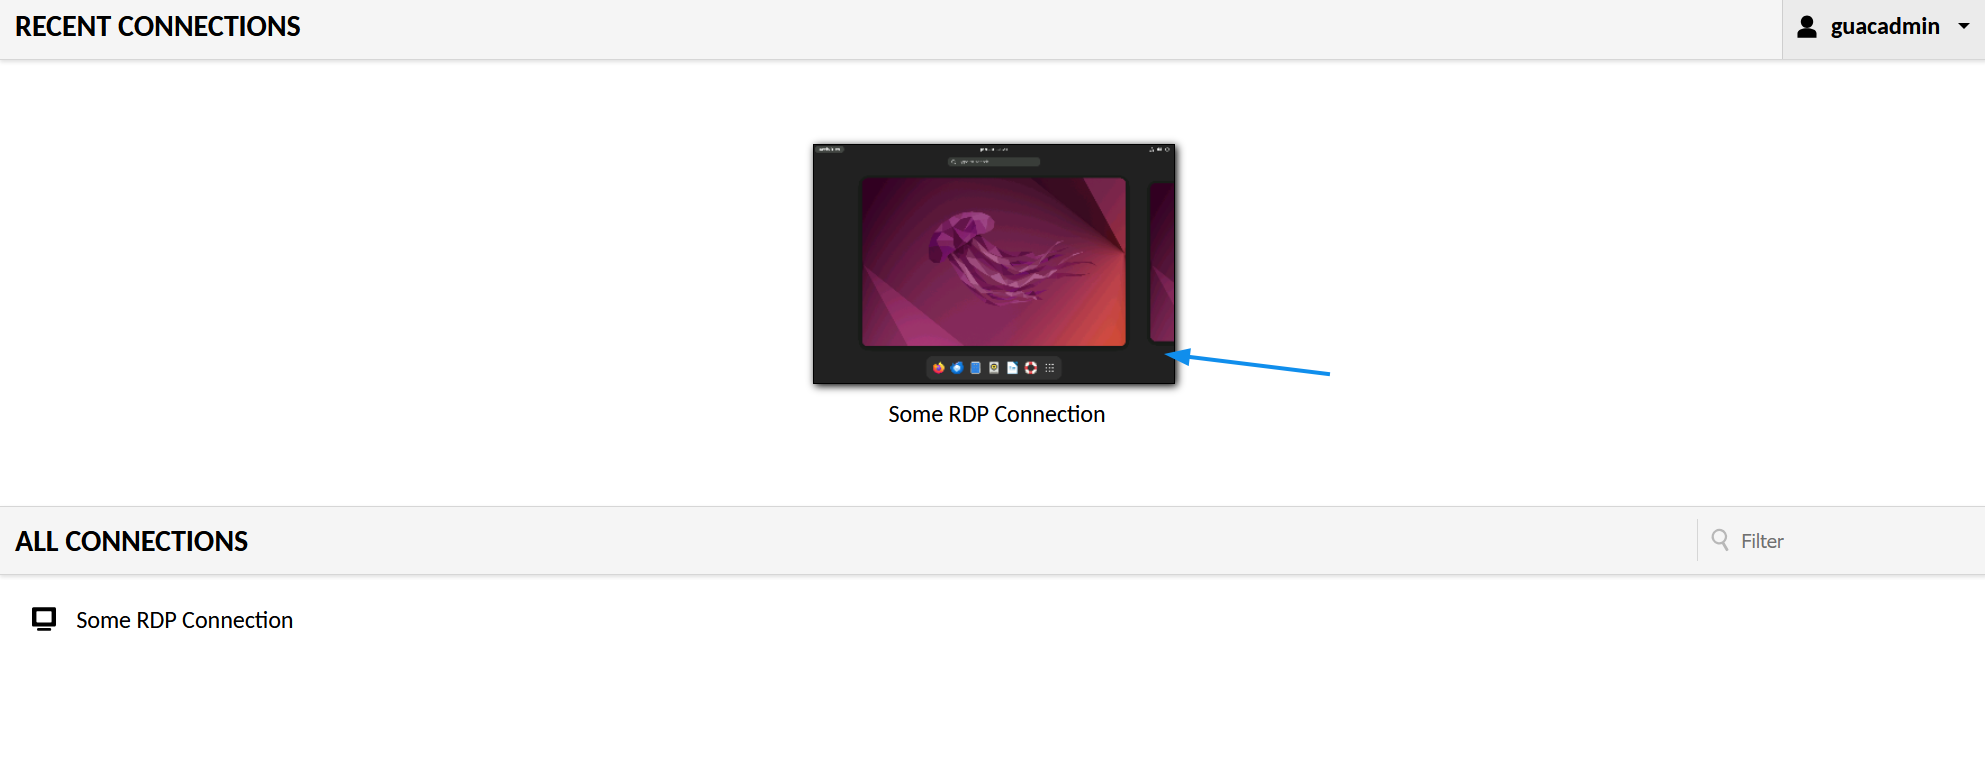
Then click Save and navigate to the Home page.
Then click on the connection you added:
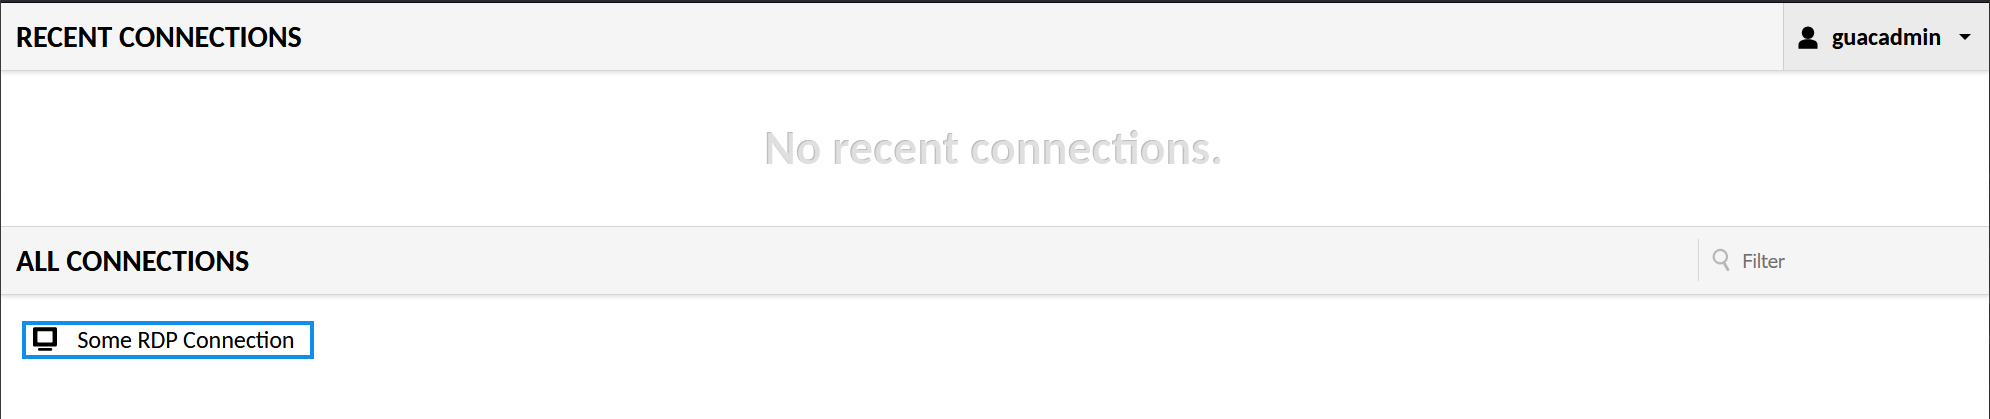
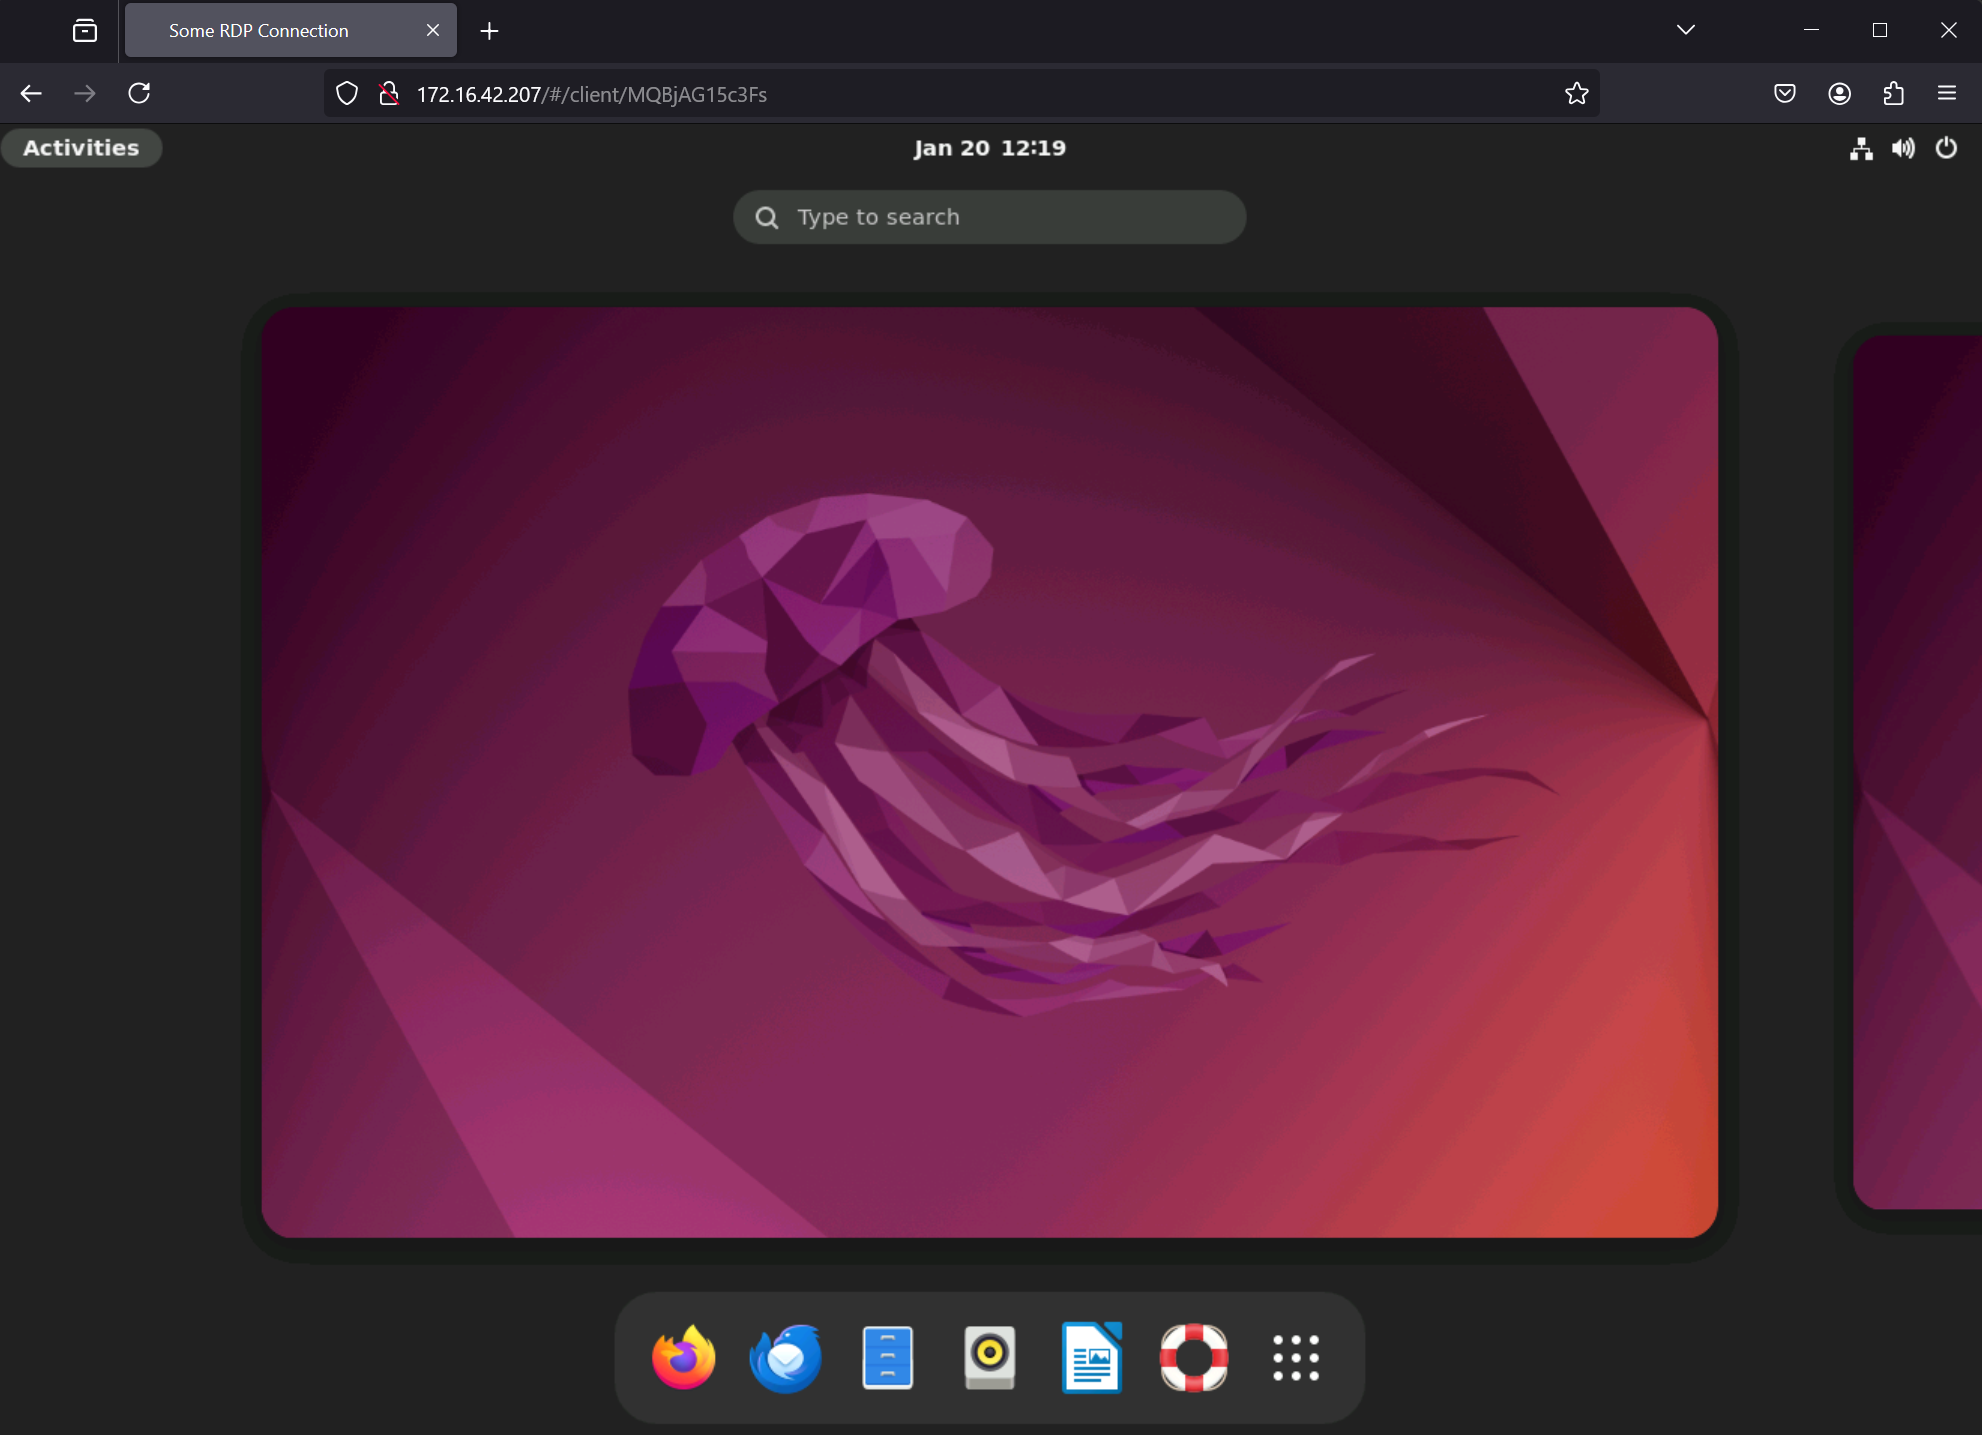
Voila, an RDP connection in your browser:
Integrated Session Recording
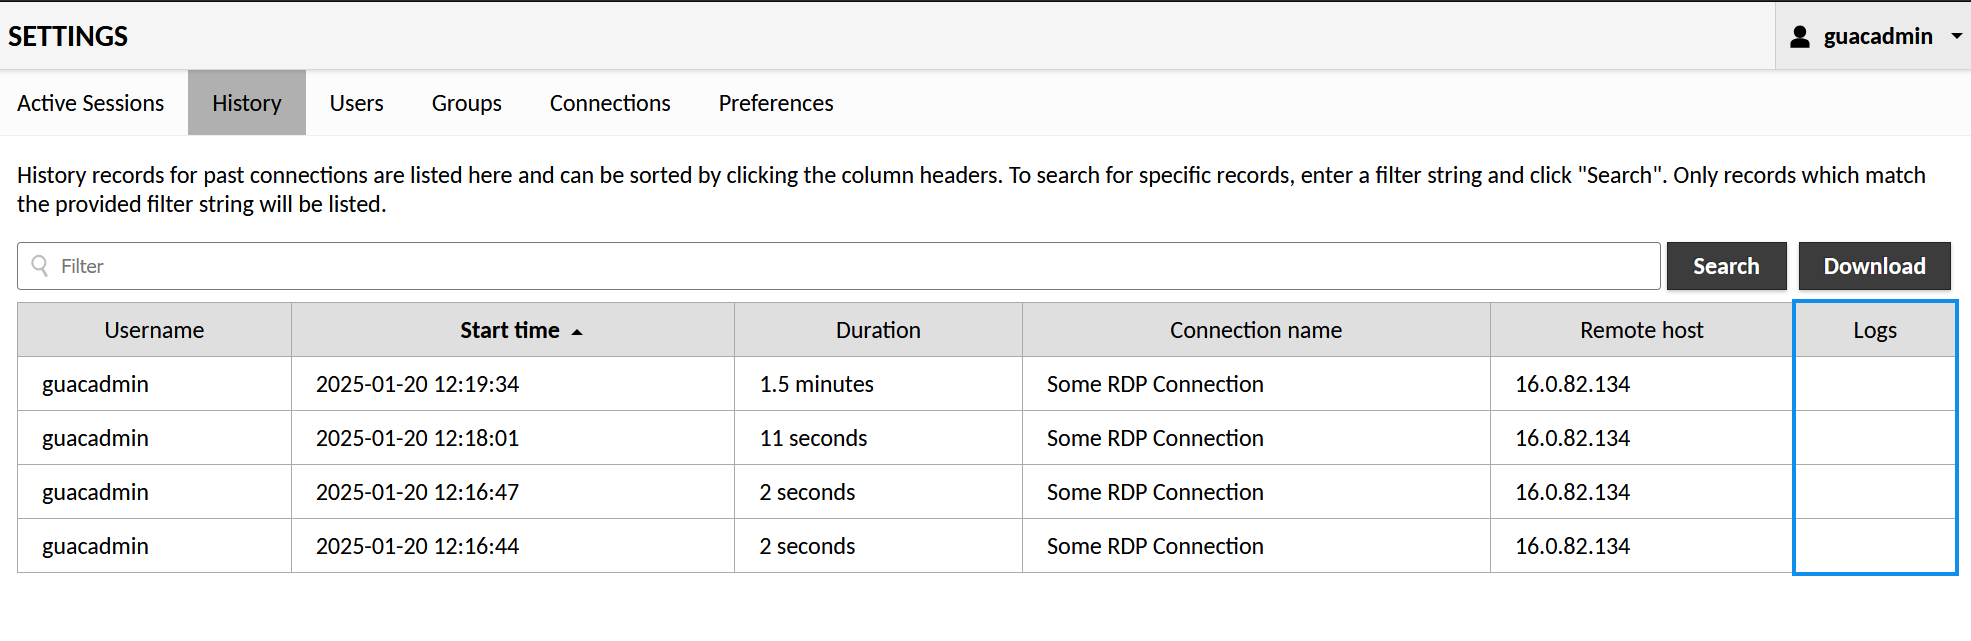
When navigating to the server logs, we see nothing in the Logs column. Let's fix that! Start by navigating to the release page of the current Guacamole release, for us it's: 1.5.5. In the future, it will be different.
Then, find guacamole-history-recording-storage-#.#.#.tar.gz and copy its link. Replace the link in the following command with the link that matches your Guacamole version. If you're using: 1.5.5 you can copy and paste the commands below without any problems.
wget "https://apache.org/dyn/closer.lua/guacamole/1.5.5/binary/guacamole-history-recording-storage-1.5.5.tar.gz?action=download" -O guacamole-history-recording-storage-1.5.5.tar.gz -qOnce downloaded, extract the file guacamole-history-recording-storage-1.5.5.jar to guacamole_home/extensions:
mkdir -p guacamole_home/extensions && tar -xvf guacamole-history-recording-storage-1.5.5.tar.gz -C guacamole_home/extensions && rm guacamole-history-recording-storage-1.5.5.tar.gz && mv guacamole_home/extensions/guacamole-history-recording-storage-1.5.5/guacamole-history-recording-storage-1.5.5.jar guacamole_home/extensions/guacamole-history-recording-storage-1.5.5.jar && rm -r guacamole_home/extensions/guacamole-history-recording-storage-1.5.5/We'll need to get the Guacamole user ID to assign read and write permissions to the record directory. To do this, run the following:
ID1=$(docker exec guacd id -u)
ID2=$(docker exec guacamole id -g)
sudo chown -R "${ID1}:${ID2}" ./record
sudo chown -R "${ID1}:${ID2}" ./guacamole_home
Then restart the server:
docker compose down && docker compose up -dSign in to Guacamole and open the connection we made previously.
After waiting a few seconds, exit the connection and navigate to the logs section in Settings. You'll notice that there is now a View link in the logs section. Clicking it will open the recording in your browser.

Conclusion
You’ve successfully created an Apache Guacamole web server, configured an RDP connection, and installed the connection history extension. With this configuration, Guacamole effectively facilitates managing and sharing access to computer clusters while centralizing access and simplifying usage tracking.
If you enjoyed this article, you're likely interested in system security. In that case, my guide on user auditing and account policies is a must-read. Linux is a cornerstone of any IT career, and mastering these systems is an essential skill that can kickstart your journey in cybersecurity and IT. Believe me, you won't want to overlook this guide, especially if you participate in CyberPatriot or IT. Just click here to read it now, and I’ll see you there shortly. Cheers!